

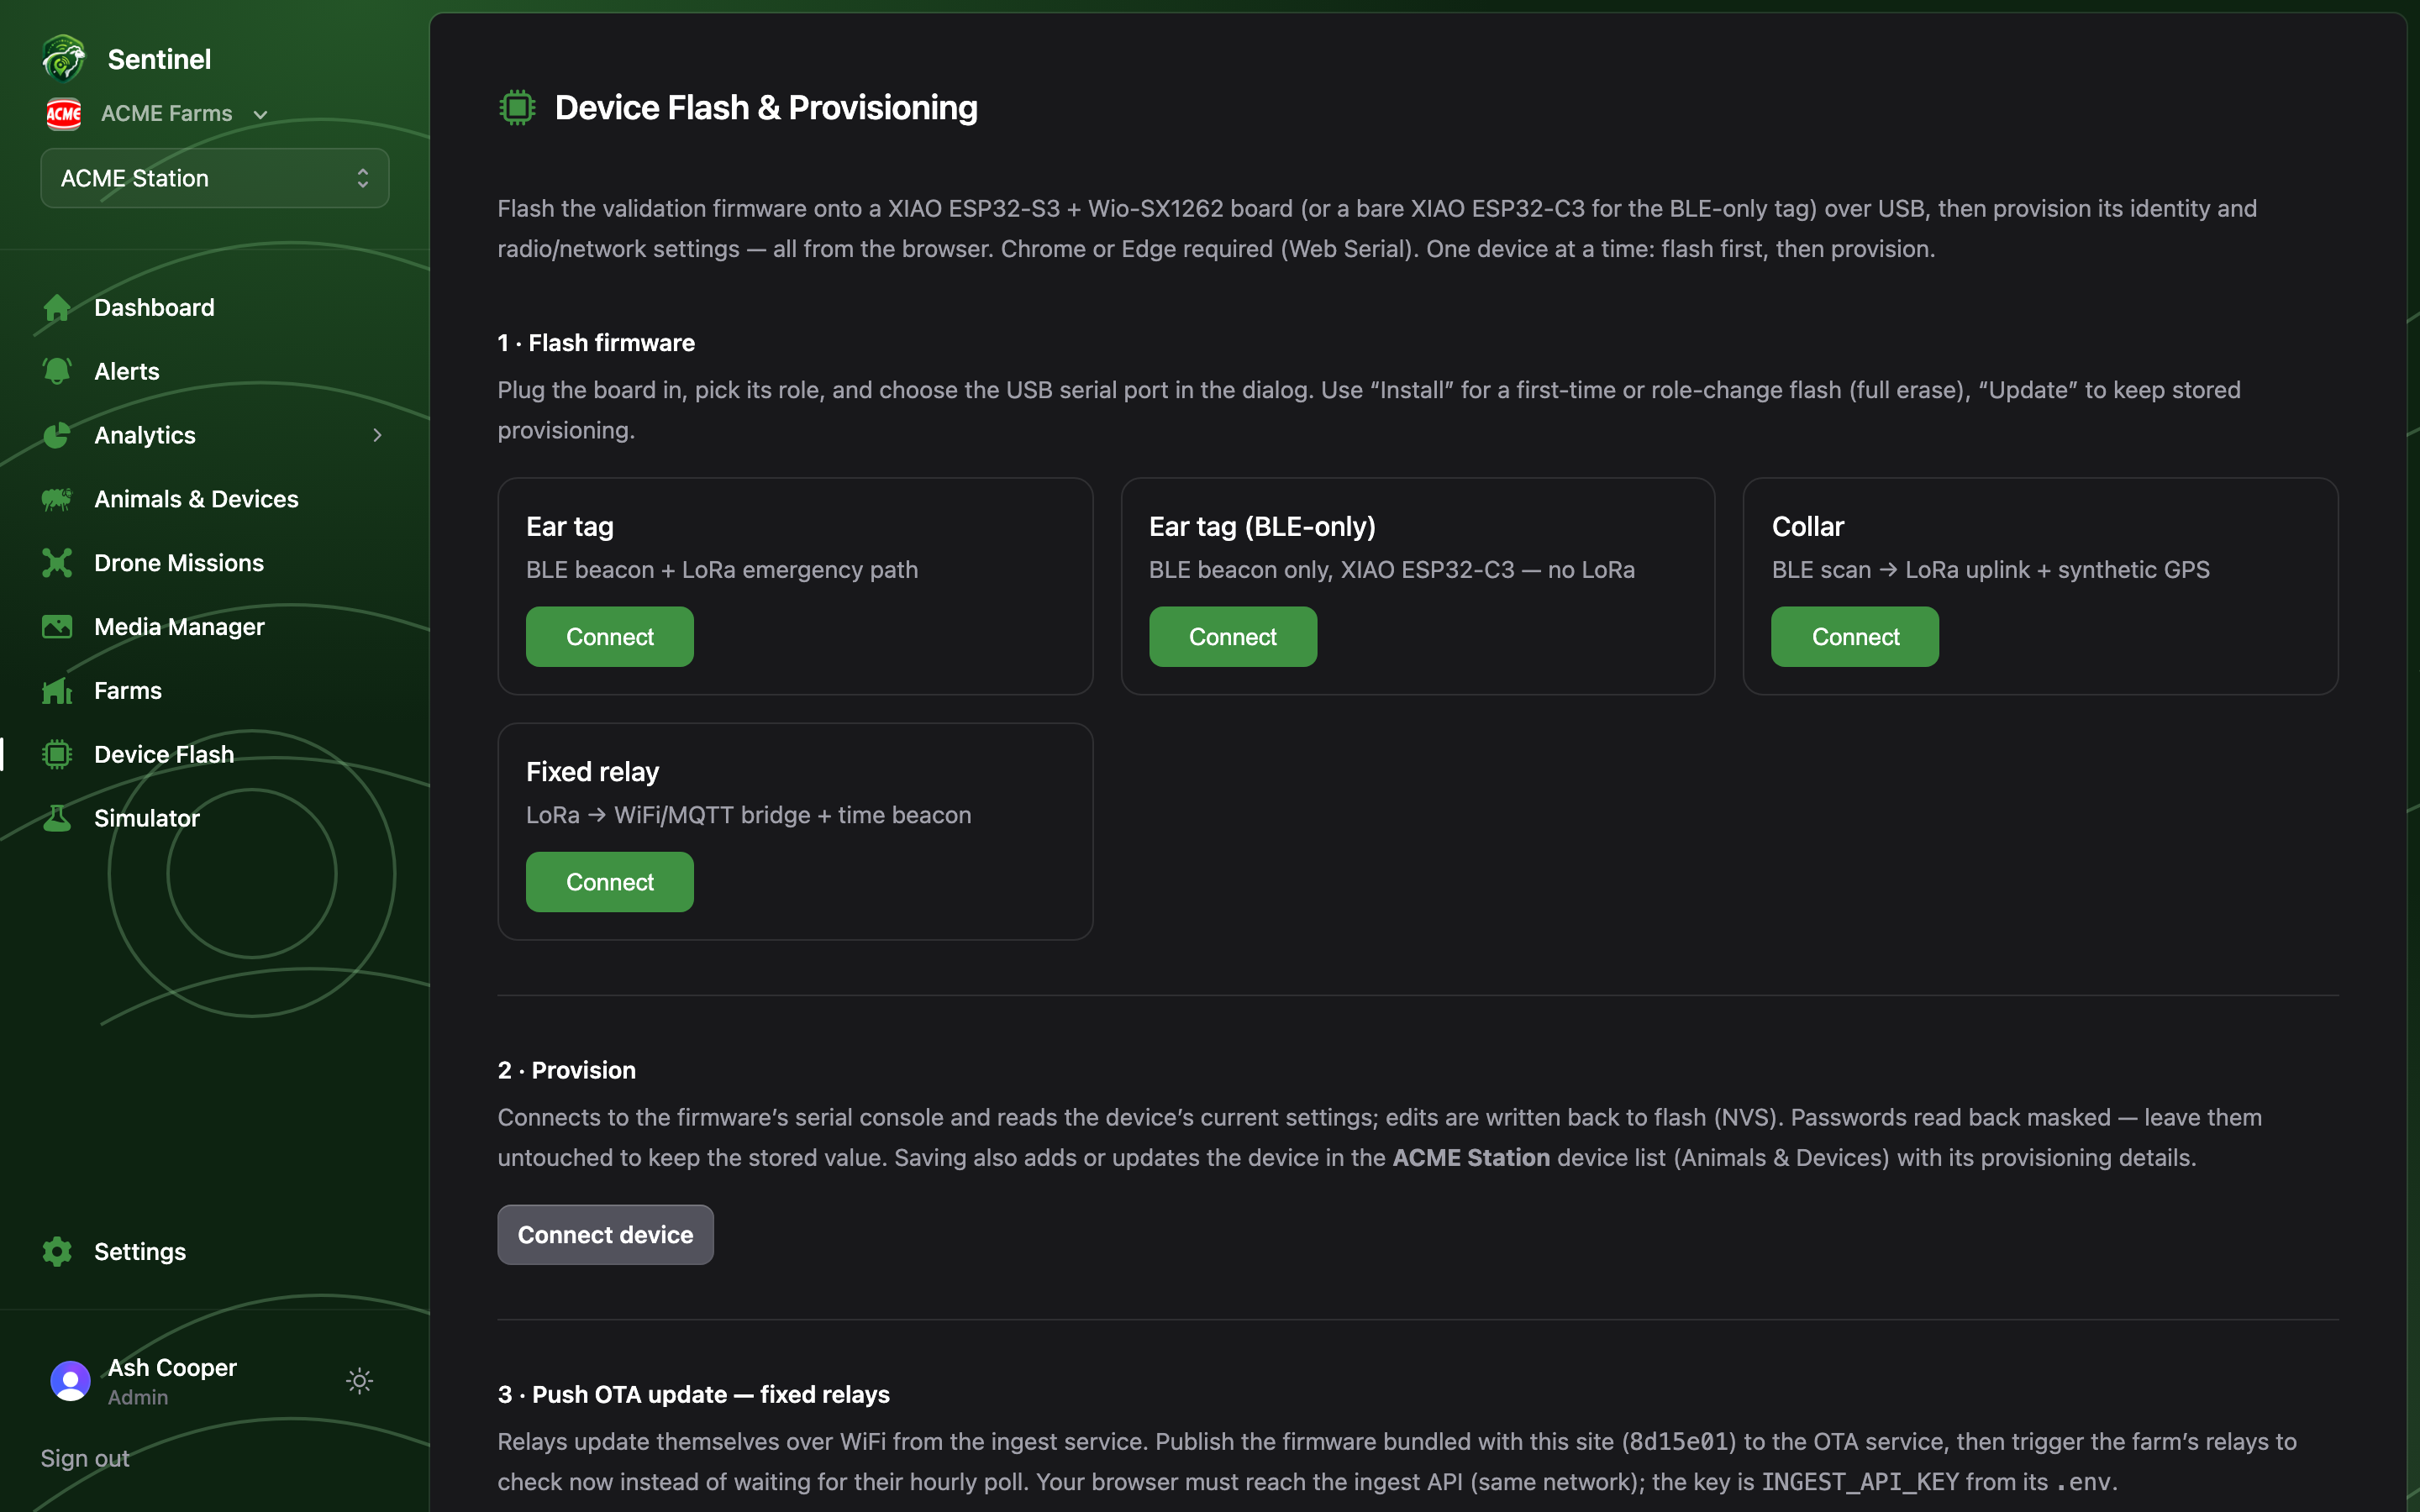
Flashing and provisioning use Web Serial, so the page needs Chrome or Edge on
desktop. Work with one device at a time: flash first, then provision.
1 · Flash over USB
Plug the board in, pick its role card — Ear tag, Ear tag (BLE-only), Collar or Fixed relay — and choose the USB serial port in the browser dialog. Use Install for a first-time or role-change flash (full erase), or Update to keep the device’s stored provisioning.2 · Provision
Connect device opens the firmware’s serial console and reads its current settings into the form: device ID, farm, radio parameters, and (for relays) the WiFi, MQTT and OTA endpoints. The page suggests the next free device ID and the active farm automatically; passwords read back masked, so leave them untouched to keep the stored value. Saving writes the settings to the device’s flash and registers it in the farm’s device list (Animals & Devices) — including the firmware version the device reports, so the register always shows what each device shipped with.3 · Push an OTA update to the relays
Relay stations sit on WiFi, so they can fetch their own firmware — no ladder, no USB cable. Each relay checks the OTA service shortly after boot and then hourly: when the published version differs from what it is running, it downloads the image, verifies the checksum, installs and reboots. A failed download or checksum leaves the running firmware untouched.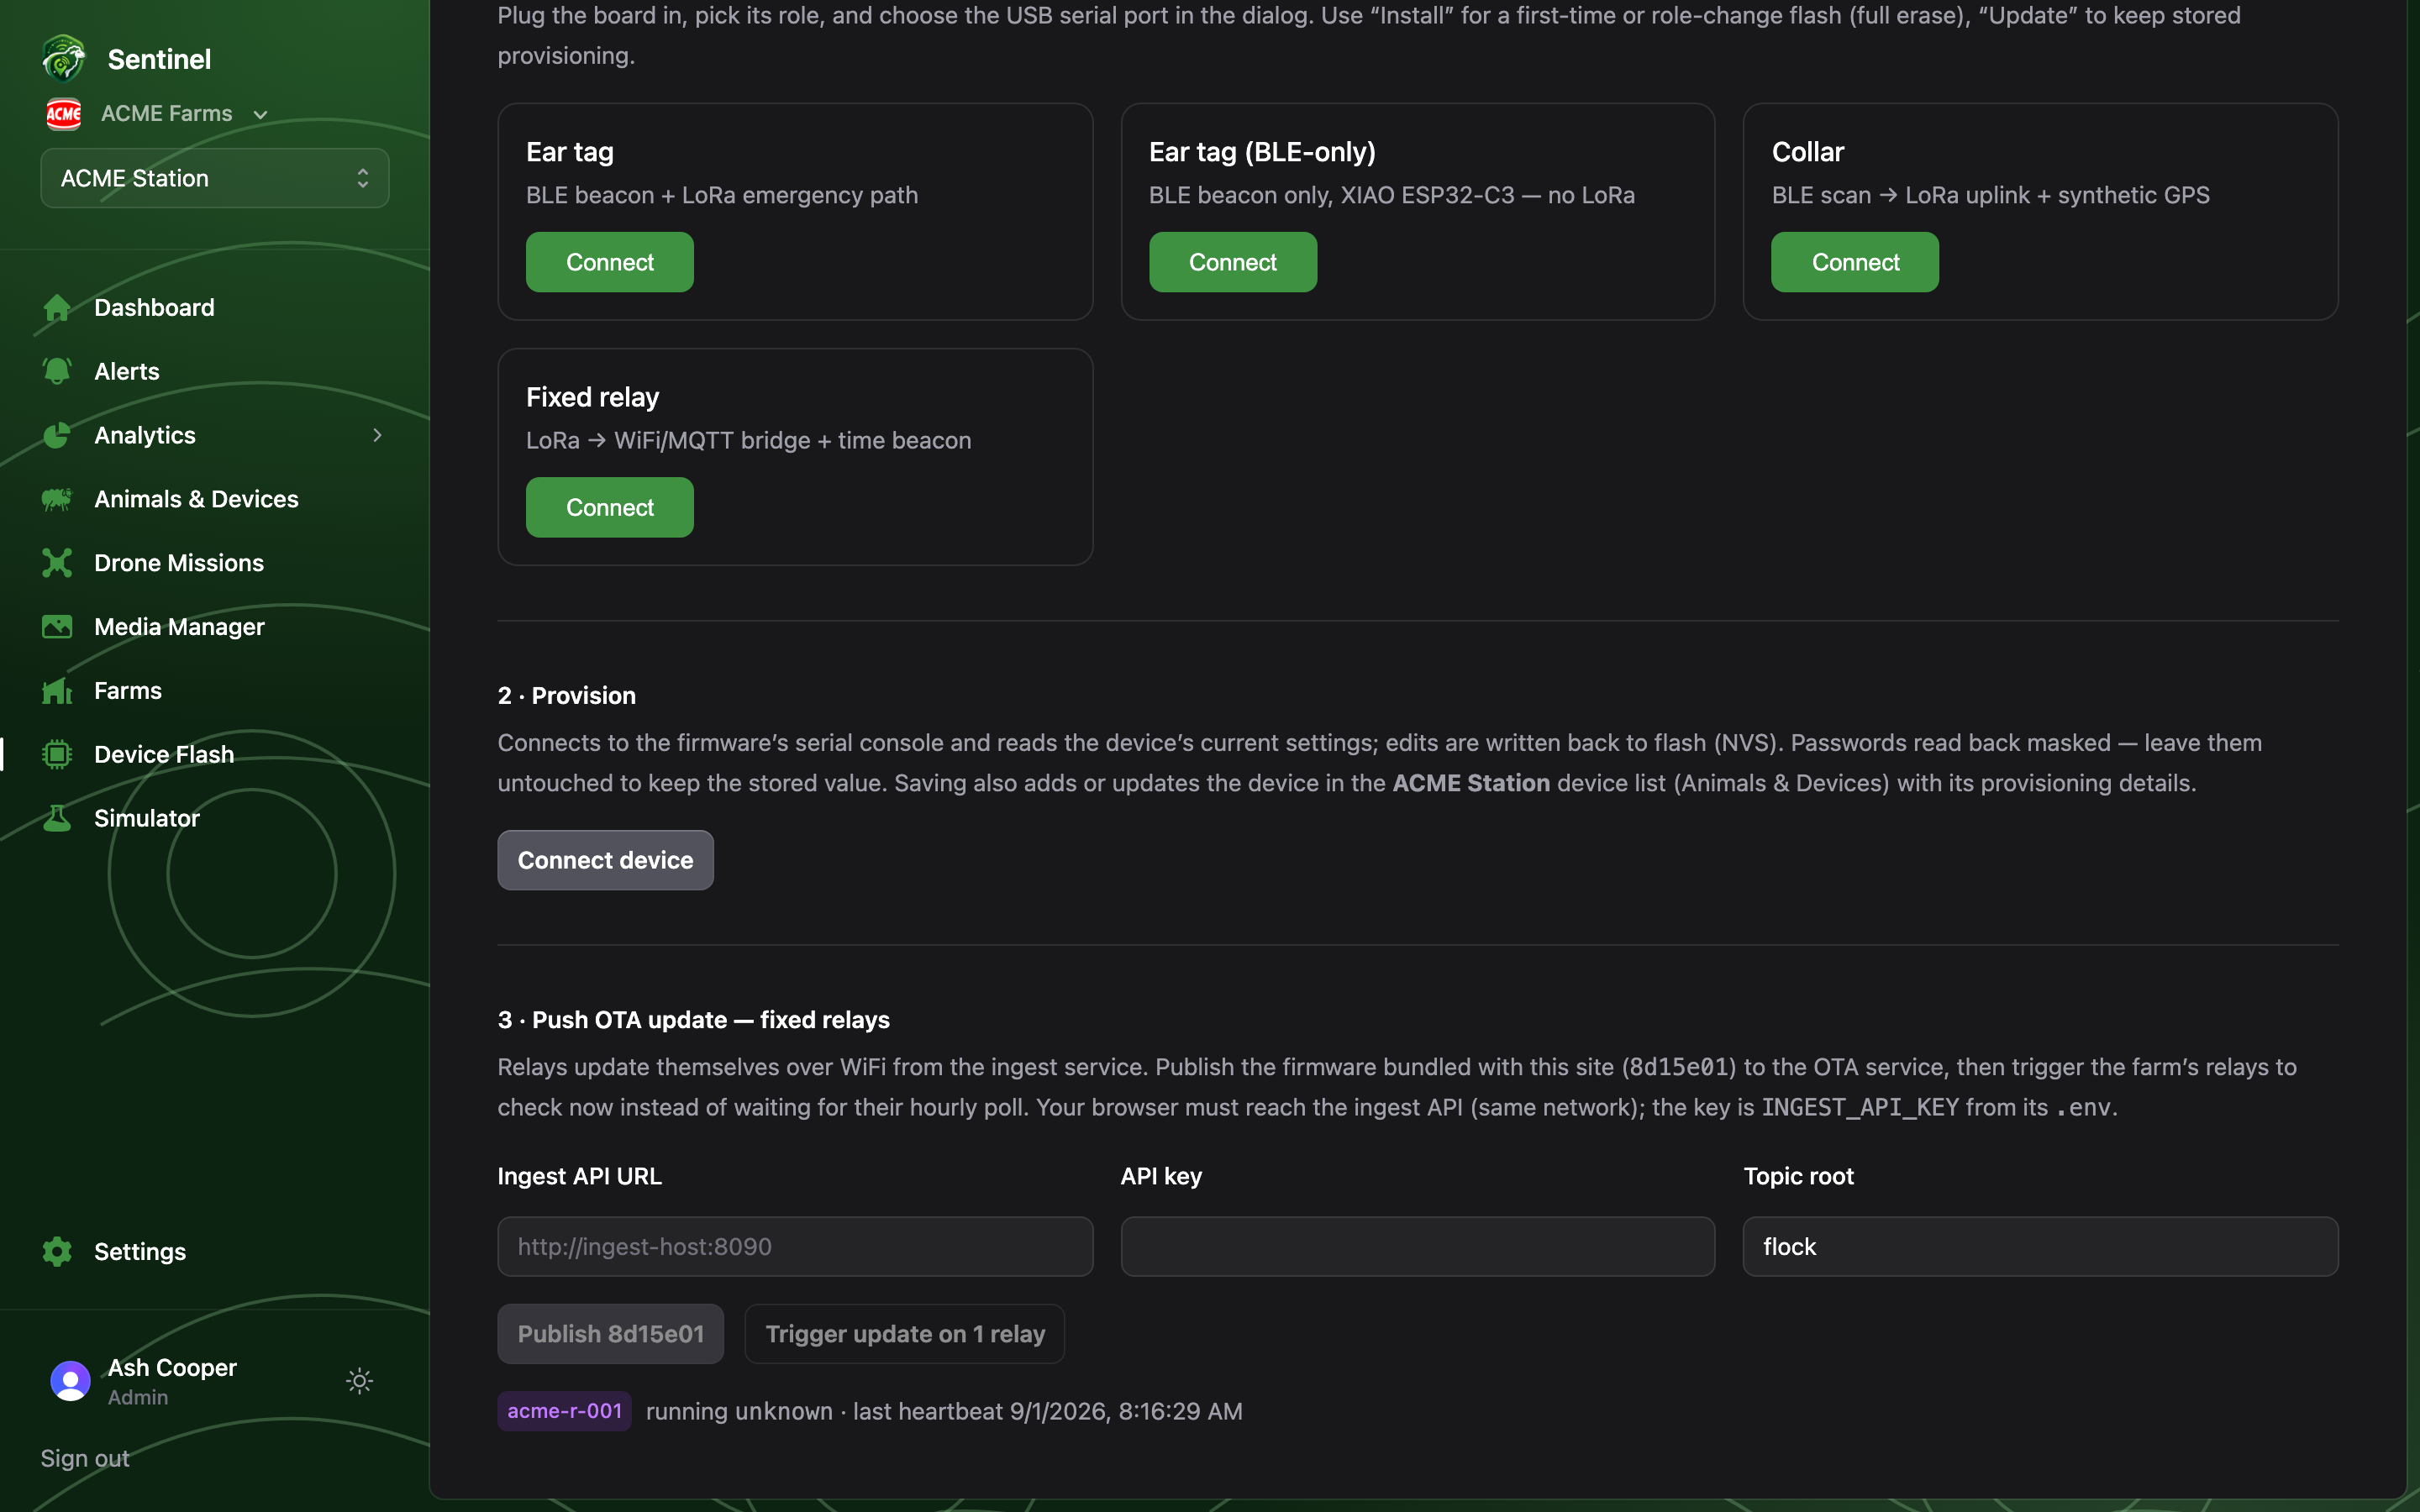
- Enter the ingest API URL and key. The browser talks to the ingest service
directly, so you need to be on a network that can reach it. The key is the
INGEST_API_KEYfrom the ingest service’s configuration — both values are remembered on this device. - Publish. The button is labelled with the firmware version bundled with
the app (e.g.
Publish 8d15e01). One click uploads that image to the OTA service; the badge alongside confirms what is now published. - Trigger. Rather than waiting for the hourly check, Trigger update tells every relay on the farm to check right now. Relays re-check within seconds and install if they’re behind.
Only relay stations update over the air. Ear tags and collars have no WiFi —
they’re reflashed over USB with the role cards above.
How versions are tracked
The firmware version is stamped into every build from source control, and it surfaces in three places:- This page — the bundled version on the Publish button, the published version badge, and each relay’s running version.
- The device register — recorded when a device is provisioned.
- Relay heartbeats — every status message a relay publishes carries its version, which also feeds the link-health series in Analytics.